Broken or rusted pipes can be a significant inconvenience in any home. They not only fail to transport the material they were designed for but also hinder the installation of a new one. This guide is designed to provide a comprehensive step-by-step approach to safely and effectively remove broken threaded pipes.
The Importance of Safely Removing Broken Threaded Pipes

Broken pipes can lead to water damage, mold growth, and other plumbing issues. Safely removing them ensures that you can restore your plumbing system without causing further damage or incurring additional costs. It’s not just about fixing the problem; it’s about ensuring the safety and longevity of your entire plumbing system.
Overview of the Tools and Techniques Used
The primary tools used for this process include the nipple extractor, broken pipe extractor, screw extractor, and the traditional pipe wrench. Each tool has its specific application and technique. Knowing when and how to use each tool is crucial for a successful removal process.
Potential Hazards and Precautions
Working with broken pipes can pose risks such as cuts from sharp edges, potential flooding, and damage to surrounding structures. Always ensure the water supply is turned off, the area is well-lit, and you’re wearing appropriate safety gear. Remember, preparation is key to preventing accidents.
Understanding Threaded Pipes
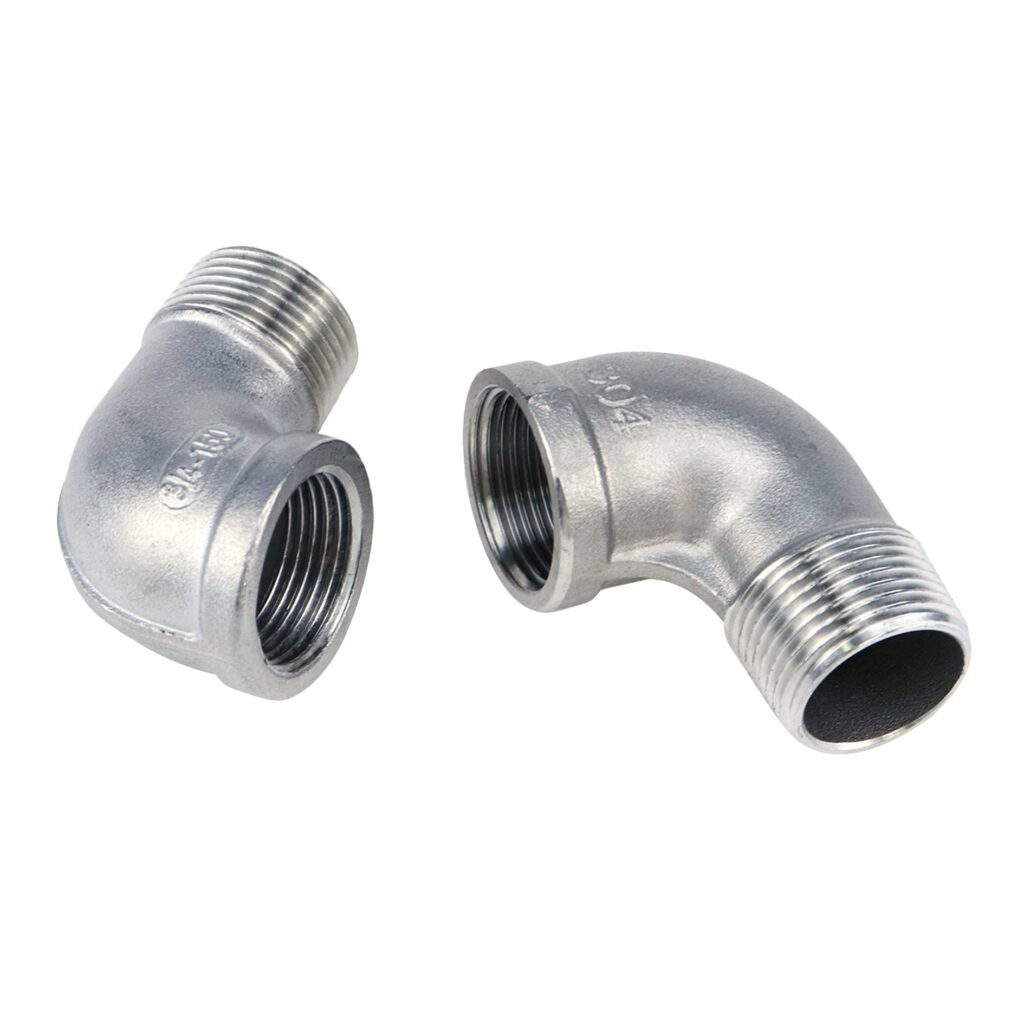
What are threaded pipes?
Threaded pipes are pipes with spiral ridges or grooves (threads) that allow for easy connection with other pipes or fittings. They provide a secure and tight seal, ensuring no leaks.
Common uses and applications
Threaded pipes are commonly used in plumbing systems, especially in residential settings, to transport water, gas, and other fluids. They’re also found in industrial settings and are crucial components in various machinery.
Reasons for breakage
Pipes can break due to age, pressure build-up, corrosion, or physical damage. External factors like freezing temperatures or ground movement can also cause breakages.
Recognizing different types of damages
Damages can range from minor cracks to complete breakages. It’s essential to assess the type and extent of the damage before attempting removal. This assessment will determine the tools and techniques required.
Required Tools
Pipe wrench
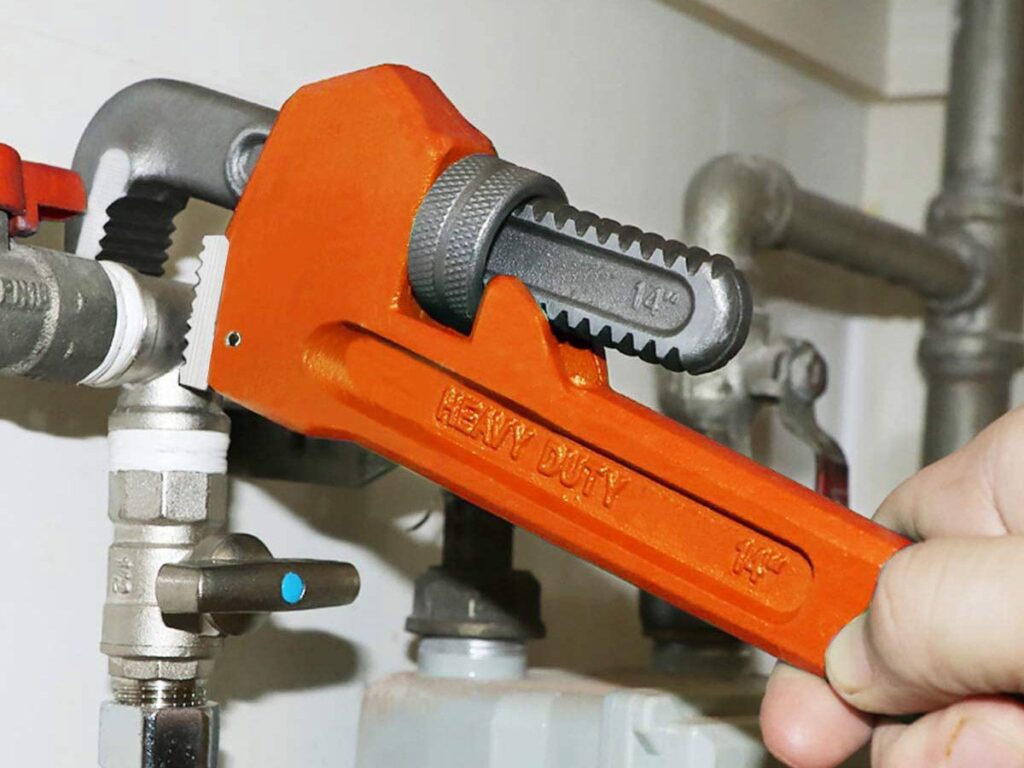
Varieties and sizes
Pipe wrenches come in various sizes to accommodate different pipe diameters. They are designed to grip and turn pipes and fittings. Some have serrated jaws for a better grip, while others are smooth-jawed for use on polished pipes.
Choosing the right wrench for the job
Select a wrench that fits snugly around the pipe or fitting without slipping. Ensure the jaws are sharp and free from grease or dirt.
Extractor Tool

Extractor tools are specialized instruments designed to aid in the removal of broken or damaged pipes, especially when they are lodged deep within fittings or walls. Their primary function is to grip the pipe from the inside, allowing for effective extraction without causing further damage.
Different types of extractors
Understanding the variety of extractors available can help you choose the right tool for the job. Here’s a detailed look at each type:
- Nipple Extractors: These are designed specifically to remove short, threaded pieces of pipe, commonly known as nipples. The tool grips the inside of the nipple, allowing it to be turned and removed without damaging the threads. They are especially useful when the external threads of the nipple are damaged or when there’s limited space to work with.
- Broken Pipe Extractors: As the name suggests, these are used for extracting pipes that have broken off inside a fitting or another pipe. They have a tapered design, which allows them to be inserted into the broken end of the pipe. Once inside, they grip the pipe’s interior, allowing it to be unscrewed and removed.
- Screw Extractors: While primarily designed for removing stripped or damaged screws, they can also be used for pipes in certain situations. They work by drilling a small hole into the damaged screw or pipe, then the extractor is inserted and turned counterclockwise. The unique spiral design of the extractor grips the interior, allowing for removal.
When and why to use an extractor tool
Extractor tools are used when the broken pipe is inside a fitting or wall, making it challenging to grip with a regular wrench. They provide a grip from the inside, allowing for effective removal.
Lubricants and Penetrating Oils
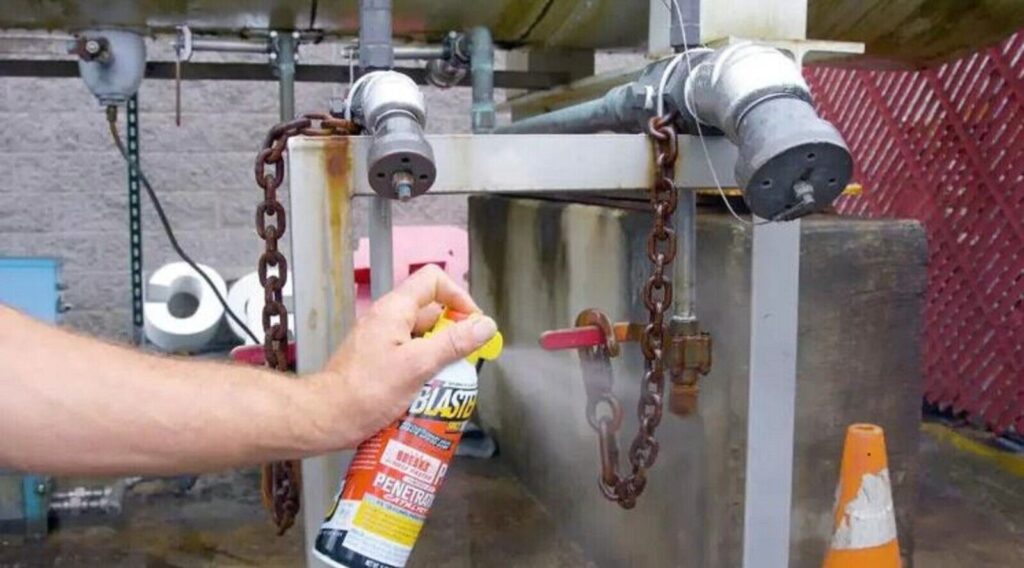
Benefits of lubrication
Lubrication helps in easing the removal process by reducing friction and facilitating smoother movement. It can also help break down rust or other obstructions.
Top recommended products
Some top-rated lubricants include WD-40 and Liquid Wrench. These products can be found at most hardware stores or online.
Safety Gear

Protective eyewear
Safety glasses protect your eyes from flying debris and splashes. They should fit snugly and not obstruct your vision.
Gloves
Wear gloves to protect your hands from sharp edges and chemicals. They should provide a good grip and be resistant to the chemicals you’re working with.
Safety shoes
Safety shoes with slip-resistant soles are recommended to prevent accidents. They should also provide adequate protection against falling objects.
Step-by-Step Removal Procedure
Assess the damage
Identify the type and extent of breakage
Before starting, inspect the pipe to understand the nature of the damage. This will guide your removal strategy.
Ensure safety precautions are in place
Always turn off the water supply and ensure the area is dry. Clear the area of any obstacles and ensure you have all the necessary tools at hand.
Apply Lubricant
Choosing the right lubricant for the job
Choose a lubricant that is suitable for the material of the pipe and the type of obstruction (e.g., rust, grime).
Proper application methods
Apply the lubricant generously around the broken area and let it sit for a few minutes. This will help loosen the pipe and make removal easier.
Engage the Extractor Tool
Utilizing an extractor tool is a pivotal step in the removal process. The tool’s design allows for the efficient extraction of broken or damaged pipes, especially when they’re deeply embedded within fittings or walls. Here’s how to properly set and use the tool:
Setting the tool.
- Select the Right Extractor: Based on the nature of the damage and the type of pipe, choose the appropriate extractor – be it a nipple extractor, broken pipe extractor, or screw extractor.
- Prepare the Broken Pipe: Before inserting the extractor, ensure the broken pipe is clean and free from any obstructions. This might involve brushing away debris or using a lubricant to ease the process.
- Insert the Extractor: Carefully insert the extractor into the broken end of the pipe. Apply gentle pressure to ensure it goes in smoothly.
- Ensure a Secure Grip: Once inserted, turn the extractor slightly to ensure it grips the interior of the pipe securely. It should feel firm and not wobble or slip.
Turning counterclockwise to remove
Using a wrench, turn the extractor counterclockwise with steady pressure. Continue turning until the broken piece is removed.
Use Pipe Wrench
Positioning the wrench
Place the wrench around the protruding part of the pipe, ensuring it has a firm grip.
Applying force in the right direction
Turn the wrench counterclockwise with steady pressure. If the pipe doesn’t budge, consider applying more lubricant or using a different tool.
Verify Successful Removal
Ensuring no remnants remain
Inspect the area to ensure no pieces of the broken pipe are left behind. This is crucial to ensure the new pipe fits perfectly.
Checking for any further damages
Inspect the threads and surrounding areas for any additional damages. If the threads are damaged, they may need to be re-threaded, or the section replaced.
Post-Removal Actions
Disposing of the broken pipe
Environmental considerations
Dispose of the broken pipe in an environmentally friendly manner. Many metals can be recycled, so consider this option.
Recycling options
Consider recycling options available in your area. Many scrapyards or recycling centers accept old pipes.
Inspecting the Threading
Checking for damages
Inspect the threads for any signs of wear or damage. Damaged threads can lead to leaks in the future.
Determining if re-threading is necessary
If the threads are damaged, consider re-threading or replacing the pipe. Re-threading tools are available at most hardware stores.
Replacing or Fixing
Choosing the right replacement pipe
Choose a pipe that matches the size and material of the original. Ensure it’s suitable for the intended purpose (e.g., water, gas).
Procedures for fixing existing threading
If the threads are salvageable, consider using a threading tool to restore them. If not, replace the damaged section.
Tips and Best Practices
Prevention methods to avoid breakages
Regular maintenance and inspection can prevent many breakages. Ensure pipes are protected from freezing temperatures and physical damage.
Maintaining threaded pipes
Clean and inspect your pipes regularly. Address any signs of wear or damage promptly.
Dealing with rust and corrosion
Use anti-rust sprays and lubricants to prevent corrosion. Replace pipes that show significant signs of rust.
Understanding when to seek professional help
If you’re unsure about any step or face complications, it’s always best to consult a professional plumber. They can provide expert advice and ensure the job is done correctly.
Conclusion
Recap of the removal process
Removing broken threaded pipes can be a straightforward process with the right tools and techniques. With patience and attention to detail, you can restore your plumbing system to its optimal state.
Stressing the importance of safety
Always prioritize safety when working with plumbing systems. Proper preparation and the right tools can prevent accidents and ensure a successful removal process.
Encouraging regular maintenance and inspection
Regular maintenance and inspection can prevent many plumbing issues and ensure the longevity of your plumbing system. By being proactive, you can save time, money, and avoid unnecessary hassles in the future.
